Your motorcycle runs on oil: Without good oil, no smooth engine. It’s super important to regularly check your oil and change it when needed. This prevents damage and keeps your motorcycle in top condition. We’ll show you how to do it easily yourself!
Why Check Your Motorcycle Oil?
Motor oil lubricates the moving parts inside your engine, keeps it cool, and prevents dirt and wear particles from causing damage. Too little oil or dirty oil can lead to overheating and rapid wear. So, checking your oil regularly is a must! Luckily, it’s very easy to do yourself.
How to Check and Change the Oil on Your Motorcycle
Checking and changing your motorcycle’s oil isn’t very difficult, but it helps to know what you’re doing. Here’s a handy step-by-step guide.
Step 1: Check the Oil Level
-
Park your motorcycle on a level surface, preferably on the center stand or main stand.
-
Turn off the engine and wait 5-10 minutes to let the oil settle back into the oil pan.
-
Find the dipstick or the oil sight glass. Some motorcycles have a sight glass on the side of the engine block.
-
If your bike has a dipstick: pull it out, wipe it clean with a cloth, reinsert it fully, then pull it out again to check the oil level.
-
If it has a sight glass: check if the oil level is between the minimum and maximum marks.
-
Also check the oil color: clear amber oil is good; dark, black, or cloudy grey oil means it’s time to change it.
Step 2: Change the Oil on Your Motorcycle
What you need:
-
Fresh motor oil (check your owner’s manual for the recommended type and viscosity)
-
New oil filter (most motorcycles require replacing this as well)
-
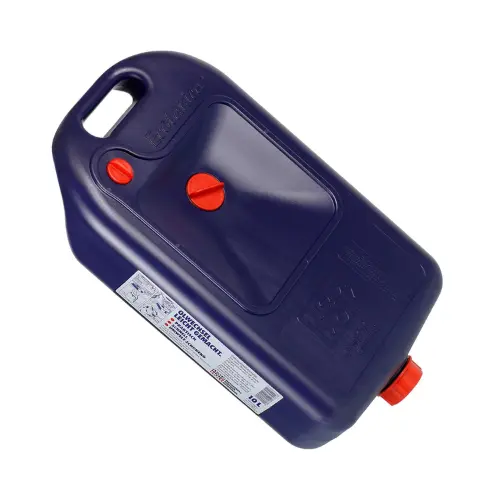
Container to catch the old oil
-
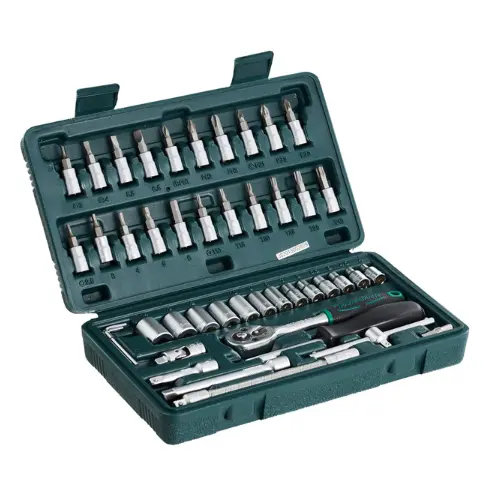
Socket wrench for the drain plug
-
New copper washer for the drain plug
-
Oil filter wrench
-
Funnel
How to do it:
-
Warm up the engine for a few minutes. Warm oil drains more easily.
-
Turn off the engine and securely place your motorcycle on the center stand.
-
Position your container under the drain plug at the bottom of the engine.
-
Use the wrench to unscrew the drain plug and let the old oil drain completely.
-
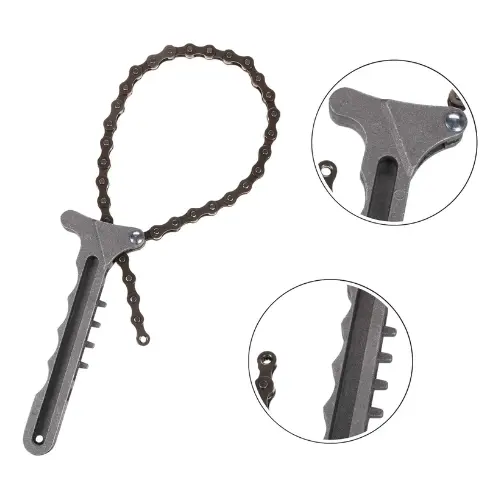
Remove the old oil filter (usually with an oil filter wrench).
-
Lightly coat the rubber seal of the new filter with fresh oil, then screw it on by hand—don’t overtighten.
-
Reinstall the drain plug with a new copper washer and tighten securely.
-
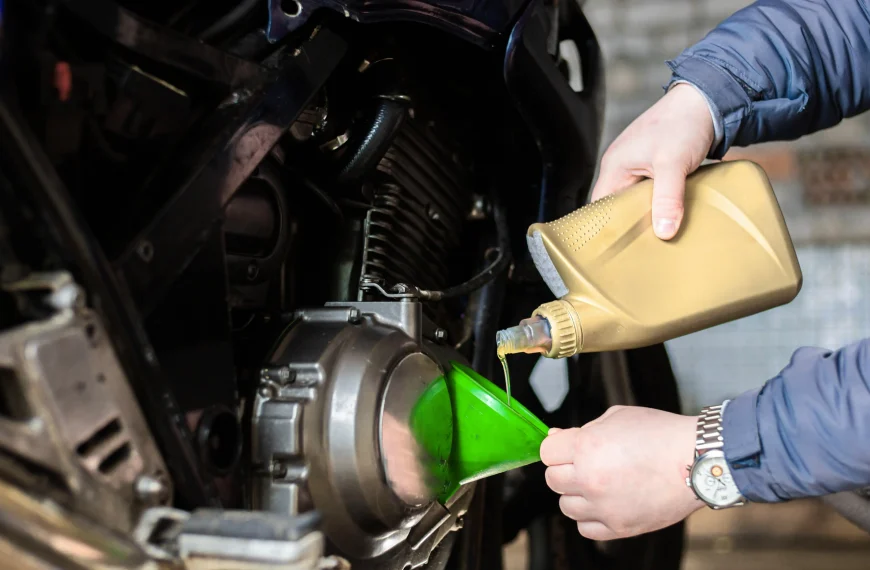
Fill the engine with fresh oil through the filler opening, using a funnel to avoid spills.
-
Check the oil level again with the dipstick or sight glass, topping up if needed.
-
Start the engine, let it run for a moment, and check for leaks.
-
Turn off the engine, wait a few minutes, and check the oil level once more.
Changing Your Motorcycle Oil Is Easier Than You Think
Checking and changing your oil yourself is much easier than you might expect. Following these steps will keep your motorcycle running smoothly, help you avoid expensive repairs, and ensure you ride safely and reliably.